Creating canary links as layer of security
If you take your defense in depth seriously, you should be able to detect a breach after the first line of defensive fell. One way is to create canary links which are distributed across your infrastructure which, in case someone is opening them, trigger a warning and you know something is wrong.
For instance, you put a link in an email in your inbox which normally never would be opened. If someone gets unauthorized access to that email and clicks on that link, you get an alarm.
For that, we download a small tool which helps us creating these links from github:
git clone https://github.com/gobiodon/percula.git
Then we need to install some dependencies. These commands were tested on Debian but should work in a similar way on most distributions:
pip3 install django
pip3 install whitenoise
apt-get install gunicorn3 #(obviously, use the packet manager of your distro)
After we've done that, we can try to start percula:
cd percula
gunicorn3 percula.wsgi -b0.0.0.0:80 --daemon
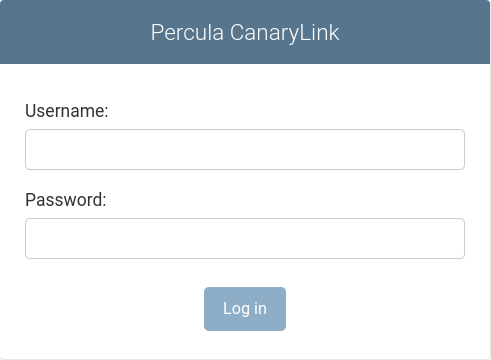
If everything went fine until this point, you should be able now to open the Percula Login (http(s)://your-IP/padmin):

The default credentials are admin/admin (you might wanna change that after the first login).
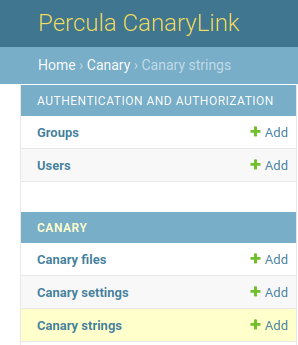
On the left side there is a menue where you have 3 options:

Canary files
Here you can add file names and content. For instance, a file with the name "passwords.txt" and a list of passwords which makes the page look interesting.
Canary settings
With this option you can configure a mail server which will be used to send alert e-mails. If you choose to skip that option, Percula will just try to send them via local MTA.
Canary strings
This is the most important option. Here you define "Canary strings" which are embedded in every URL and are used as an unique identifier so you can define different URLs for different "traps".
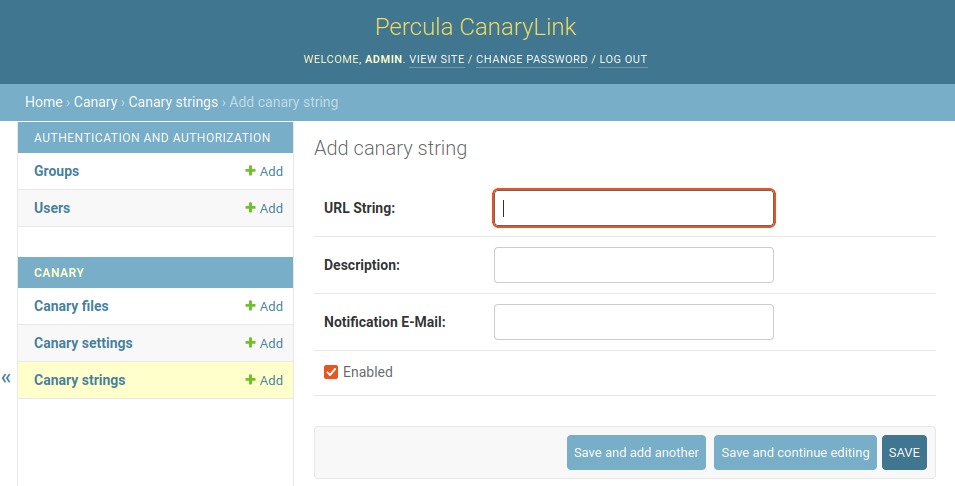
So lets add a unique string which we can use to create a trigger: Click on "Add" next to "Canary strings" and you will find this form:

URL String: A unique string of your choice, just stick to letters and numbers because it is used in the URL
Description: Something that makes you remember where you used the trigger when you get an alert
Notification E-Mail: The mail address which should get the alarms for this canary
Now that you have your canary up and running, you can test it by opening the following URL in a web browser:
http(s)://CANARY_IP/URL_STRING/login
This will open a fake login page and trigger an alarm. The link you can put then in e-mails and documents where an attacker might look for interesting things. If you don't get an e-mail, check the mail server settings.
The following link formats are currently supported:
http(s)://CANARY_IP/$URL_STRING/login - returns a web login and triggers an alarm
http(s)://CANARY_IP/$URL_STRING/files/$filename - the file name can be anything, by default it will return a list of usernames and passwords. If you wanna define your own content, add them with the "Canary files" option. If you add the file "passwords.txt" it will be reachable under the url:
http(s)://CANARY_IP/$URL_STRING/files/passwords.txt
Another way to trigger an alarm is to prepare an office document. You can do this by adding a trigger and then insert an image from an URL. The URL to that image is http(s)://CANARY_IP/$URL_STRING/docfile.png
Then, when someone is opening the office document, an alarm is triggered.
 pingofdeath.io